
How to Get Verified on Facebook with Blue Checkmark?
Verifying your Facebook page with a blue checkmark is an important step for businesses and individuals looking to establish credibility and increase visibility on the platform. A blue badge provides a visual indicator that your page is authentic and verified by Facebook.
In this article, we’ll walk you through the steps to verify your Facebook page, but first, let’s clarify what is Facebook blue checkmark so we can keep you on track.
What is Facebook Verification Badge?
The Facebook verification badge is a symbol that appears on a Facebook profile or page to indicate that it has been verified as authentic by Facebook. This badge is typically displayed as a blue checkmark next to the profile or page name.
To obtain a Facebook verification badge, a profile or page must meet certain criteria and go through a verification process. Facebook typically verifies public figures, celebrities, brands, and businesses that have a significant following and potential for impersonation.
Having a Facebook verification badge can be beneficial for individuals and businesses, as it helps to establish credibility and authenticity. It can also increase the visibility of the profile or page in search results and make it more prominent in Facebook’s algorithm.
Overall, the Facebook verification badge serves as a signal to users that a profile or page is legitimate and can be trusted. This can be especially important for businesses and public figures that rely on social media as a way to communicate with their audience and build their brand.
How to Verify your Facebook Account Using The Official Method?
There are two methods to verify your Facebook account or page. The first is the official method, where you must request verification and wait for approval. The second method involves using an external tool called the Facebook Injection tool. We will guide you through both of these methods and help you choose the one that best fits your needs.
Step 1: Ensure that your page is eligible for verification Before you start the verification process, it’s important to make sure that your page meets Facebook’s eligibility criteria. To be eligible, your page must:
- Represent a business or brand, not an individual
- Have a complete profile and cover photo
- Have a profile picture that clearly represents the business or brand
- Have a username (vanity URL) for the page
- Have a minimum of 250 followers
- Have been active for at least 90 days
Step 2: Begin the verification process To start the verification process, go to your Facebook page and click on the three dots in the top right corner. From the dropdown menu, select “Settings” and then “Page Verification”. On the next screen, click the “Verify this Page” button.
Step 3: Provide verification information Facebook will ask you to provide some basic information to verify your page, such as your business or brand name, your country, and your phone number. Make sure to fill out all the information accurately and completely.
Step 4: Confirm your identity Facebook will then send you a confirmation code via SMS or email. Enter the code in the space provided on the verification page to confirm your identity.
Step 5: Upload documents Facebook may also ask you to upload supporting documents, such as a government-issued ID or a business license, to verify your business or brand.
Step 6: Wait for approval Once you have submitted your verification information and documents, Facebook will review your submission. This process may take several days, so be patient. If your verification is approved, you will receive a notification and your page will be adorned with a blue badge.
How to Verify your Facebook Account Using an Injection Tool?
To get verified on Facebook without requesting verification or waiting for approval, you can use the Checkmark injection tool to add the blue badge to your account or page. This Injection tool will inject Facebook servers and add the verification blue badge to your account in just a few minutes.
The benefits of this external tool are it’s untraceable, easy to use, and free for all, no matter how many followers you have or how old your account is! Just insert your username and complete the verification process.
What is also great about this Checkmark Tool is it requires no personal information, such as email or password, or even your name.
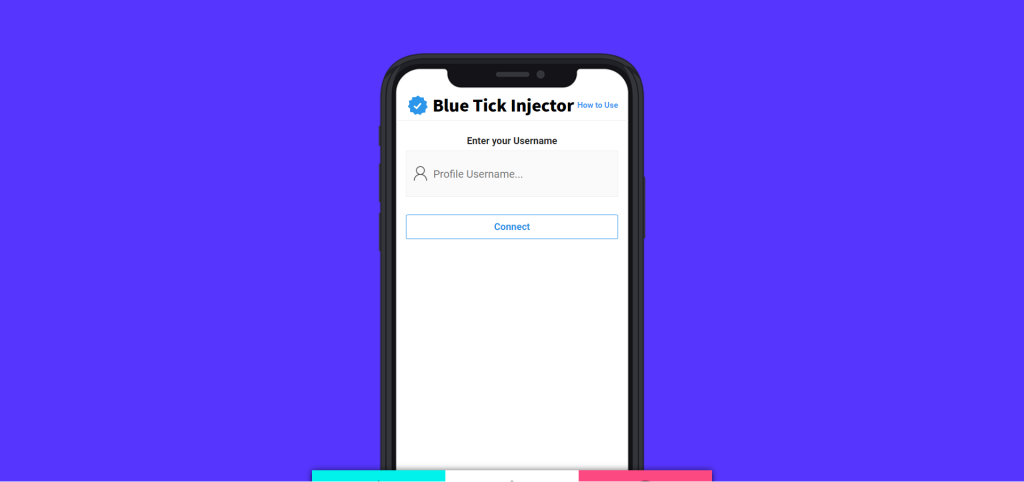
To use this tool, simply go to Facebook Injection Tool, insert your username, and confirm your account, then start the injection process, and finish the process by completing the captcha.
The Benefits of Verifying a Facebook Page?
Verifying a Facebook page provides several benefits, including:
• Increased credibility: A verified page gives your audience a sense of trust and legitimacy, which can increase engagement and followers.
• Improved visibility: Verified pages are more likely to appear in search results, making it easier for people to find your business on Facebook.
• Exclusive features: Verified pages have access to exclusive features, such as the ability to use custom colors and enhanced call-to-action buttons on the page.
• Protection against impersonation: Verifying your page helps to prevent others from creating fake pages that pretend to be your business, which can damage your brand and reputation.
• Improved support: Verified pages receive priority support from Facebook, ensuring a quick response in case of any issues with your page.
Overall, verifying your Facebook page can help to increase the visibility and credibility of your business on the platform, as well as protect your brand from impersonation.
In conclusion, verifying your Facebook page with a blue badge can help increase your page’s credibility and visibility. By following the steps outlined above, you can easily get your page verified with a blue checkmark.


